DIY Roman shades are not only a stylish and cost-efficient choice for window treatments, but they’re also surprisingly easy to make. Whether you’re looking for a modern take on the traditional design, or something more unique and creative, there are plenty of tutorials online to help you create the perfect custom look for any room in your home. From fabric selection to installation, this article provides an overview of some of the best Easy DIY Roman Shade Tutorials available today.
Why DIY Roman Shades?
Before we dive into the tutorials, let’s talk about why DIY Roman shades are a great option for your kitchen. First, they offer a clean, polished, and sophisticated look that can make your kitchen feel more spacious and inviting. Roman shades have a timeless and classic appearance that complements any kitchen decor style, from modern to traditional.
Second, DIY Roman shades are customizable to fit any size, shape, and style of window. You get to choose the material, design, and color, making each item truly one-of-a-kind and special. This allows you to match the shades to your kitchen’s color scheme and style, creating a cohesive look that ties the room together.
Third, making your own Roman shades is an affordable alternative to buying ready-made shades. You can save money on labor costs and choose materials that fit your budget. You might also feel accomplished knowing that you made something unique that others will appreciate for years to come.
DIY Roman Shade Tutorials
Let’s get started on your DIY Roman shade right now by looking at some of the greatest guides out there.
Tutorial 1 – No-Sew Roman Shades
If you’re not confident in your sewing skills, or you’re short on time, this no-sew Roman shade tutorial is for you. Making one of these shades is simple, needs few materials, and won’t take more than a few hours. You’ll need fabric, fusible hem tape, a tension rod, and a measuring tape to create these shades. The tutorial includes detailed instructions with photos and tips to ensure success.
Tutorial 2 – Classic Roman Shades
For a traditional and timeless look, try this classic Roman shade tutorial. You’ll need a sewing machine, fabric, drapery lining, and some basic sewing skills to create these shades. The tutorial includes detailed instructions with photos and tips to ensure your shades fit your windows perfectly.
Tutorial 3 – Relaxed Roman Shades
If you prefer a more relaxed and casual look, try this relaxed Roman shade tutorial. You’ll need fabric, drapery tape, and some basic sewing skills to create these shades. The tutorial includes step-by-step instructions with photos and tips to ensure your shades have a natural and easy appearance.
Tutorial 4 – Faux Roman Shades
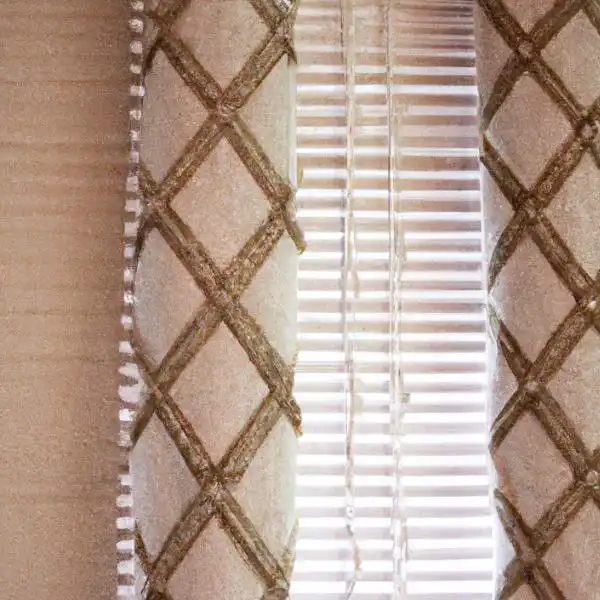
If you want the look of Roman shades without functionality, try this faux Roman shade tutorial. These shades are easy to make and don’t require any sewing. You’ll need fabric, fusible interfacing, a measuring tape, and an iron to create these shades. The tutorial includes detailed instructions with photos and tips to ensure your shades have a clean and polished appearance.
Tips for Success
No matter which tutorial you choose, there are some tips that can help you achieve success with your DIY Roman shades. Here are a few to keep in mind:
- Measure your windows carefully to ensure that your shades fit properly. This will save you time, effort, and frustration later on.
- Choose a fabric that works well with the style and color scheme of your kitchen. Consider the amount of light that you want to filter through the shades when selecting the fabric.
- Practice on scrap fabric before working on your actual shade to ensure that you understand the process and can get the technique down.
- Iron your fabric before cutting and sewing to ensure that it’s wrinkle-free and lays flat for accurate measurements and cutting.
- Follow the tutorial instructions carefully and take your time to ensure that your shades turn out just right.
Some Extra Easy DIY Roman Shade Tutorials (Bonus)
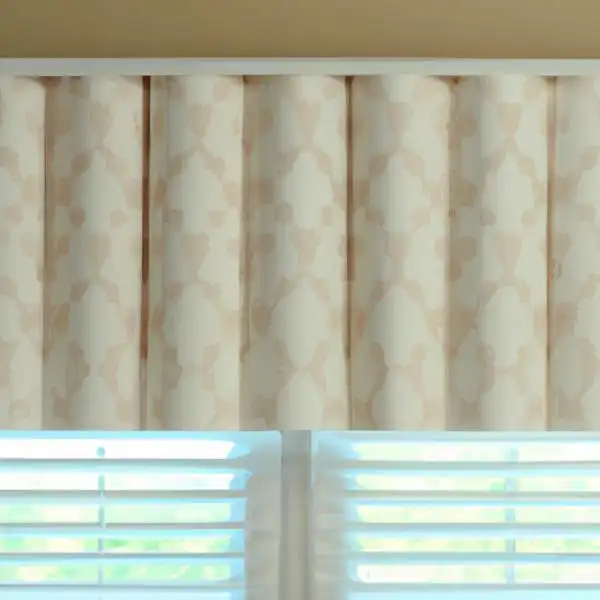
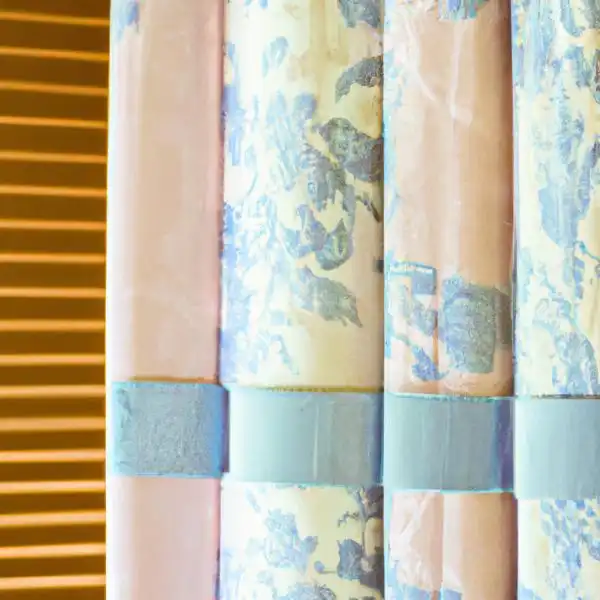
1. Printed Roman Shade
To make an easy DIY printed Roman shade, you will need fabric, lining material, fusible interfacing, wooden dowels, cord, rings, and a cleat. First, measure the width and length of your window and add an additional two inches to each side for seam allowances. Cut your fabric, lining material, and interfacing to this size.
Next, iron the interfacing onto the wrong side of the fabric, and then sew the lining material to the fabric, and right sides together. Turn the shade right side out and press it.
Cut the wooden dowels to fit the width of your shade, and insert them into pockets created by folding the bottom edge of the shade up and sewing it in place. Sew rings onto the back of the shade at equal intervals, and thread cord through the rings, tying it off at the bottom.
Attach the shade to the window with a cleat, and you have a beautiful DIY-printed Roman shade!
2. Pleated Balloon Roman Shades
Easy DIY Roman Shade Tutorials can be found online that provide step-by-step instructions for creating beautiful and functional window coverings. For those interested in making Pleated Balloon Roman Shades, there are several tutorials available that can be completed with just a few basic supplies and tools.
To make Pleated Balloon Roman Shades, start by measuring the width and length of the window you want to cover. Cut your fabric and lining to size, then fold and sew the pleats. Attach the lining to the fabric and add the cord channels and dowels. Finally, attach the rings and cord to create the balloon effect.
One tutorial suggests using fusible interfacing to help create the pleats and using a glue gun to attach the dowels. Those just learning to sew may find this approach to be more streamlined and productive.
Overall, with a little patience and some basic sewing skills, creating Pleated Balloon Roman Shades can be a fun and rewarding DIY project.
3. Easy DIY Tension Roman Shade
One easy DIY Roman shade tutorial is the “Easy DIY Tension Roman Shade.” This tutorial is a great option for those who want a functional and stylish window treatment without having to install brackets or screws. To make this shade, you will need fabric, a tension rod, fusible interfacing, and a few basic sewing supplies.
To begin, measure your window and cut your fabric to size. Then, apply fusible interfacing to the back of the fabric to give it some structure. Then, create hems by folding and pressing the fabric’s top and bottom edges. Sew the hems in place.
After that, slide the tension rod through the top hem of the fabric and adjust it to fit snugly inside your window frame. Finally, adjust the fabric to your desired length and secure it with clips or fabric glue.
This DIY Tension Roman Shade is an affordable and easy-to-make option for anyone looking to spruce up their windows.
People also ask for
- Creative Ways to Use Roman Shades
- Types Of Roman Shades
- Decor Tips for Roman Shades
- Decorating Techniques for Roman Shades
- Creative Roman Shade Ideas
- This Is Why Roman Shades are the Perfect
- Roman Shade Choosing Mistakes
Conclusion
DIY Roman shades are an excellent option for transforming your kitchen’s window treatments without breaking the bank. They offer a timeless and sophisticated look that complements any kitchen decor style, and they are customizable to fit any size and shape of a window. With these easy tutorials and some patience, you can create your own Roman shades that add a touch of elegance and style to your kitchen. Take your time, use accurate measuring tools, and strictly adhere to the directions for the best results.