Bread-making is an art that requires precision and technique. And while traditional methods of bread making are still popular, using a bread maker machine has made the process easier and more efficient. But with so many models available in the market, it can be overwhelming to choose the right one for your needs. Whether you’re a seasoned baker or just starting out, there are essential tips for bread maker use that will help you achieve the perfect loaf every time. From selecting the right ingredients to mastering different settings on your machine, understanding these tips will ensure your success in creating delicious homemade bread. In this article, we will explore some of these essential tips for bread makers that will take your baking skills to the next level.
The Joy of Homemade Bread
Homemade bread is a source of joy and fulfillment for many home bakers. The process of creating a loaf from scratch can be incredibly rewarding. Not only does it allow you to customize your bread to suit your taste preferences, but it also fills your kitchen with the comforting scent of freshly baked goodness. With a few essential tips and tricks, you can turn your homemade bread into a masterpiece that will impress your family and friends.
Essential Tips for Bread Maker
Choosing the Right Bread Maker
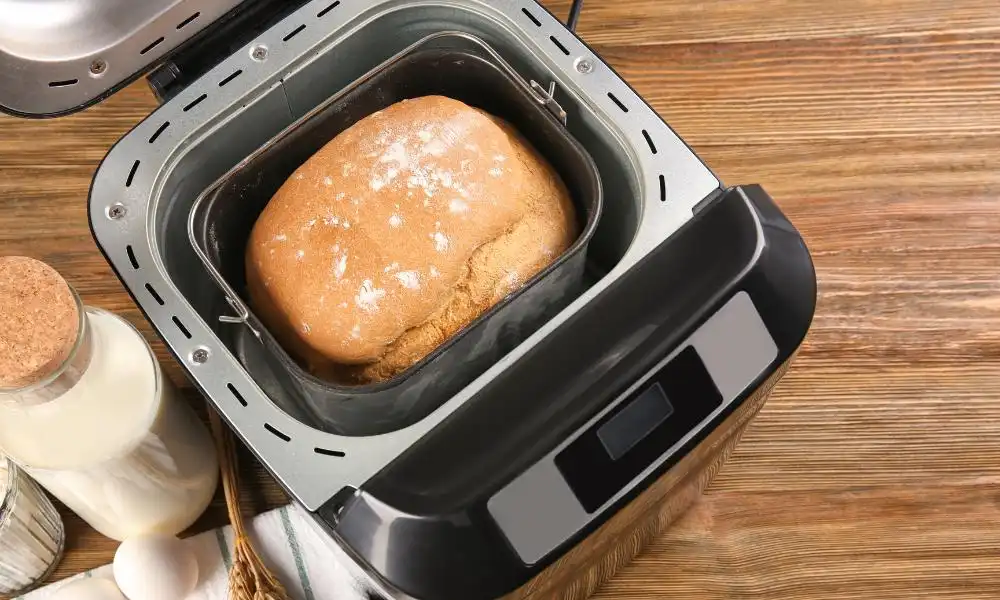
Investing in a good-quality bread maker is the first step towards bread maker success. With various options available in the market, it’s important to choose one that suits your needs and preferences. Look for a bread maker with adjustable settings, different loaf sizes, and a delay timer for added convenience. Additionally, consider the machine’s durability, ease of cleaning, and customer reviews before making your purchase.
Selecting the Perfect Ingredients
To create delicious homemade bread, selecting high-quality ingredients is crucial. Start with fresh, high-protein flour like bread flour or whole wheat flour. These flours contain more gluten, resulting in better structure and texture. Additionally, choose fresh yeast or active dry yeast for leavening. Experiment with different types of sweeteners, such as honey or maple syrup, and consider adding enrichments like butter, olive oil, or milk for added flavor and moisture.
Measuring and Mixing the Ingredients
Accurate measurement of ingredients is vital for successful bread making. Invest in a kitchen scale for precise measurements, as it ensures consistency and better results. Follow the recipe instructions carefully, measuring each ingredient by weight whenever possible. When it comes to mixing the ingredients, use the appropriate attachments on your bread maker or follow the recommended order if kneading by hand.
Understanding the Dough
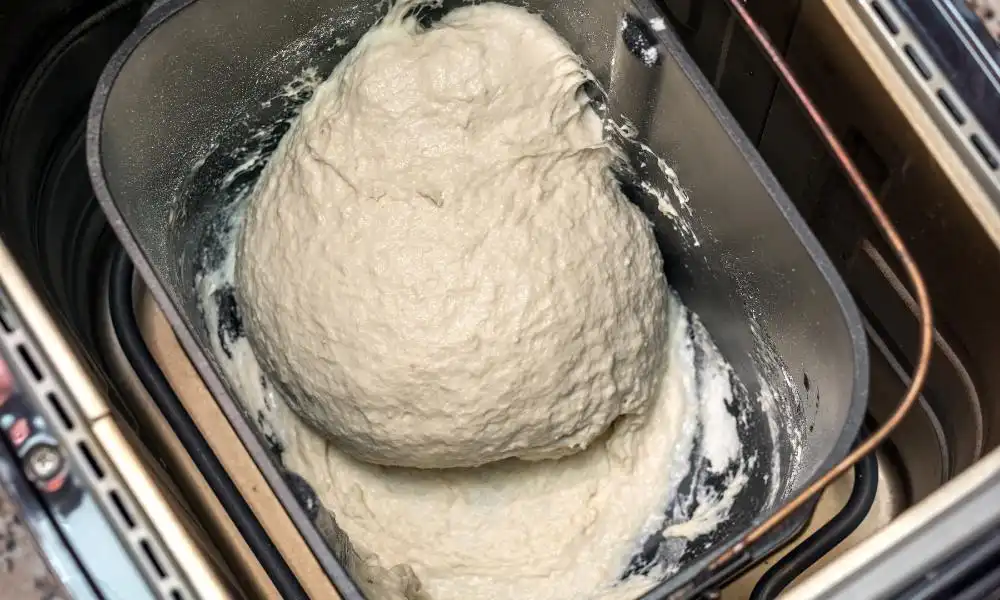
Understanding the dough and its characteristics is essential for the bread maker’s success. The dough should be elastic, smooth, and slightly sticky. If it’s too dry, add a small amount of water, and if it’s too wet, add a little flour. The dough should be soft enough to handle without sticking excessively to your hands or the work surface. Pay attention to the consistency of the dough throughout the bread-making process.
Perfecting the Art of Kneading
Kneading is a crucial step in bread making as it develops the gluten in the dough, resulting in a light and airy loaf. There are several techniques you can employ to achieve proper kneading.
Techniques for Proper Kneading
Push and Fold: Use the heels of your hands to push the dough away from you, then fold it back over itself. Repeat this motion, gradually turning the dough, until it becomes smooth and elastic.
Stretch and Fold: Gently stretch the dough and fold it over itself. Rotate the dough a quarter turn and repeat the process. This technique helps develop gluten while ensuring even mixing.
Slap and Fold: Lift the dough from the surface, then slap it down firmly. Fold the dough over itself, rotate, and repeat. This method is effective for wetter dough that is difficult to handle.
Rising and Proofing
Proper rising and proofing are crucial for achieving a light and airy texture in your bread. These steps allow the dough to ferment and develop its flavors.
Creating the Ideal Environment
Find a warm and draft-free spot in your kitchen for the dough to rise. Ideally, the temperature should be around 75-80°F (24-27°C). You can use a proofing box or create a warm environment by preheating your oven to the lowest temperature, turning it off, and placing the dough inside.
Tips for Successful Proofing
Cover the dough with a clean kitchen towel or plastic wrap to prevent it from drying out.
Allow enough time for the dough to rise fully. This usually takes around 1 to 2 hours, depending on the recipe and the ambient temperature.
Baking the Perfect Loaf
Baking is the final step in bread making, and it’s important to get it right to achieve a golden crust and a tender crumb.
Understanding Temperature and Time
Follow the baking instructions provided in the recipe, ensuring you preheat your oven to the specified temperature. Use an oven thermometer to verify the accuracy of your oven’s temperature. Keep in mind that baking times may vary depending on the size and type of loaf.
Achieving a Crispy Crust
To achieve a crispy crust, you can create steam in your oven by placing a pan of hot water on the bottom rack during the first few minutes of baking. This helps the crust develop a beautiful golden color and a slightly chewy texture.
Adding Flavors and Variations
Once you’ve mastered the basics of homemade bread, it’s time to get creative and add flavors and variations to your loaves.
Experimenting with Different Flours
Explore the world of flours beyond traditional bread flour and whole wheat flour. Experiment with rye flour, spelled flour, or even ancient grains like einkorn or Kamut. Each type of flour adds its unique flavor profile and texture to the bread.
Incorporating Herbs and Spices
Enhance the flavor of your bread by incorporating herbs, spices, or even cheese into the dough. Fresh rosemary, thyme, garlic, or cinnamon are excellent options to consider. Be adventurous and try different combinations to find your favorite flavor combinations.
Storing and Preserving Homemade Bread
Once you’ve baked your delicious homemade bread, it’s important to store and preserve it properly to maintain its freshness and flavor.
Proper Cooling and Storage
Allow your bread to cool completely on a wire rack before storing it. This prevents condensation and ensures the crust remains crispy. Store the bread in a breathable container, such as a paper bag or bread box, to maintain its texture and prevent it from becoming too soft.
Freezing Techniques
If you have excess bread or want to save some for later, freezing is an excellent option. Slice the bread and place parchment paper between the slices to prevent sticking. Wrap the bread tightly in plastic wrap or place it in a freezer bag. When you’re ready to enjoy it, thaw the slices at room temperature or toast them for a crispy texture.
Conclusion
Mastering the art of homemade bread is a journey that combines passion, knowledge, and practice. By following these five essential tips, you’ll be well on your way to becoming a breadmaker extraordinaire. Remember to choose the right bread maker, select high-quality ingredients, and understand the dough’s characteristics. Perfect your kneading techniques, master the art of rising and proofing, and bake your loaves to perfection. Don’t be afraid to add flavors and variations to your bread, and ensure you store and preserve it properly. With each batch, your confidence and expertise will grow, and the joy of homemade bread will continue to delight you and those around you.
FAQs about Essential Tips for Bread Maker
Can I use all-purpose flour instead of bread flour?
While bread flour is recommended for its higher gluten content, you can use all-purpose flour as a substitute. Keep in mind that the texture and structure of the bread may be slightly different.
Can I add nuts or dried fruits to my bread dough?
Absolutely! Adding nuts, seeds, or dried fruits can provide additional texture and flavor to your bread. Make sure to chop them into small pieces and fold them into the dough during the mixing process.
How long does homemade bread stay fresh?
Homemade bread is best enjoyed within a couple of days. To extend its freshness, store it properly in a breathable container or freeze it for longer-term storage.
Why is my bread not rising during proofing?
Several factors can affect the rising of the dough, including expired yeast, inadequate proofing time, or improper temperature. Ensure your yeast is fresh and active, give the dough enough time to rise, and create a warm and draft-free environment.
Can I make gluten-free bread at home?
Yes, you can make gluten-free bread at home using alternative flour like rice flour, tapioca flour, or almond flour. Follow gluten-free bread recipes specifically designed for gluten-free flour and consider using xanthan gum as a binder.