Baking bread at home has become a popular pastime for many during the pandemic. Not only does it offer a productive and therapeutic activity, but homemade bread can also be healthier and more flavorful than store-bought options. Using a bread maker can make the process even easier and more convenient. In this article, we will explore how to make delicious homemade bread with your bread maker, from selecting ingredients to perfecting the baking process. Whether you are new to baking or an experienced baker looking for new techniques, this guide is perfect for anyone who wants to enjoy fresh, homemade bread without all the fuss! So grab your apron and let’s get started on creating some delicious loaves of bread!
Introduction
Baking bread at home has become increasingly popular, and breadmakers have made the process much simpler and more convenient. By following a few key guidelines and honing your techniques, you can produce bakery-quality bread from the comfort of your own kitchen.
Choosing the Right Bread Maker
To embark on your homemade bread-making journey, it’s important to select a bread maker that suits your needs. Consider factors such as loaf size, programmable settings, and additional features like a delay timer or gluten-free options. Read reviews, compare models, and choose a reliable bread maker that fits your budget and preferences.
Selecting the Best Ingredients
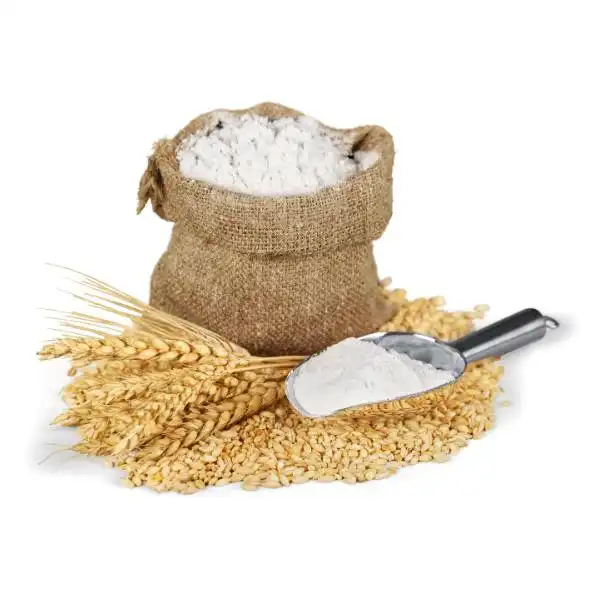
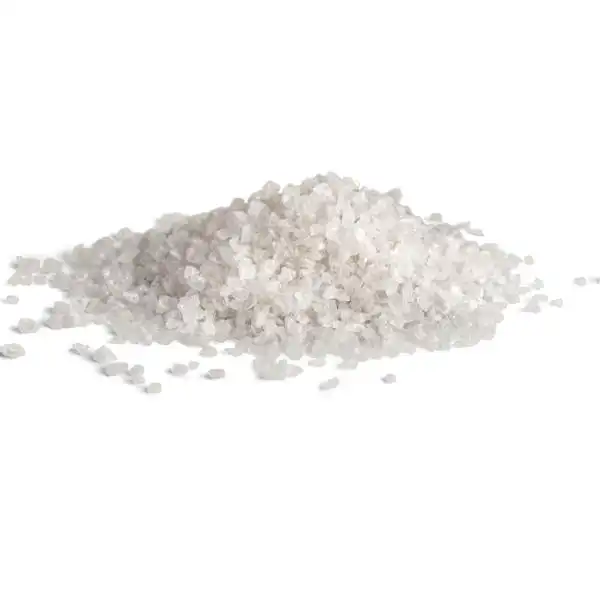
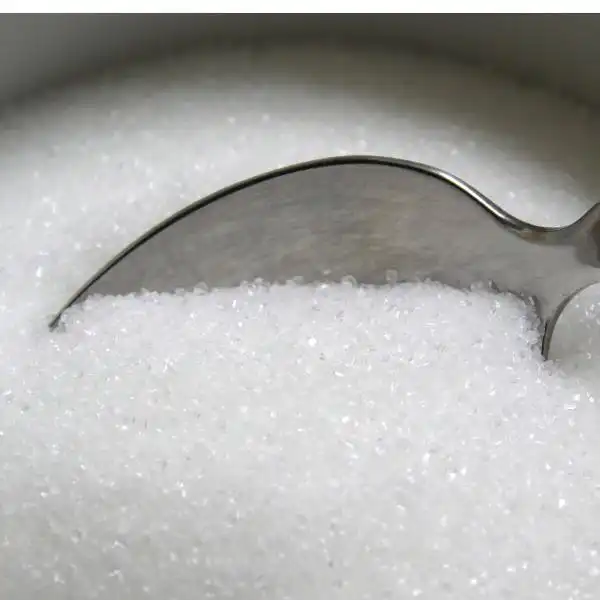
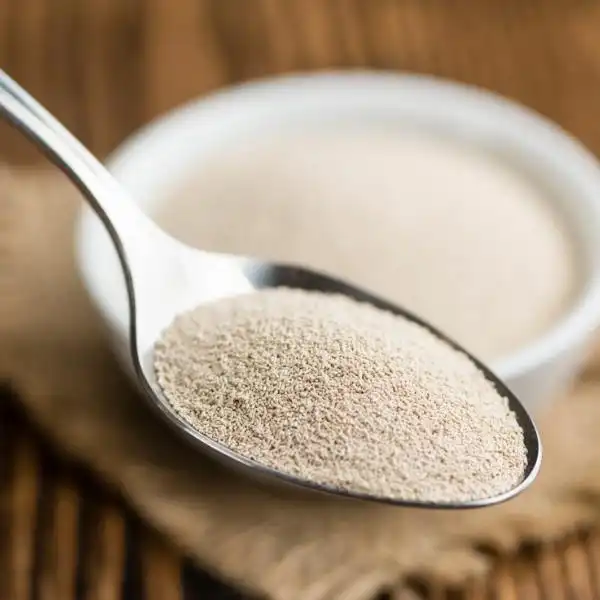
The quality of your homemade bread largely depends on the ingredients you choose. Opt for high-quality flour, yeast, salt, and sugar. Experiment with different types of flour, such as whole wheat or rye, to add depth and flavor to your loaves. Don’t forget to use fresh ingredients and avoid stale or expired ones for the best results.
Measuring the Ingredients
Accurate measurements are crucial in bread making. Invest in a good set of measuring cups and spoons to ensure precision. Follow the recipe guidelines provided by your bread maker and measure ingredients carefully. Remember, slight variations in measurements can significantly affect the texture and taste of your bread.
Understanding the Bread Maker Settings
Familiarize yourself with the settings and functions of your bread maker. Most machines offer basic settings such as white bread, whole wheat bread, and dough cycles. Adjust the crust darkness and select additional settings based on your preferences. Understanding your bread maker’s capabilities will empower you to create a variety of bread types.
Using the Dough Cycle
The dough cycle on your bread maker opens up a world of possibilities beyond basic bread loaves. You can use the dough to create homemade pizza crusts, dinner rolls, or even cinnamon buns. Experiment with different shapes and sizes, and let your creativity shine.
Experimenting with Flavors and Add-Ins
Once you’ve mastered the basics, it’s time to explore different flavors and add-ins for your bread. Incorporate herbs, spices, or grated cheese into the dough to infuse delightful flavors. Experiment with dried fruits, nuts, or seeds to add texture and variety to your bread. Let your taste buds guide you in creating unique and delicious combinations.
Troubleshooting Common Issues
Encountering issues while making bread is not uncommon. If your bread turns out too dense, try adjusting the yeast or flour quantities. If the crust is too dark, decrease the baking time or select a lighter crust setting. Keep a record of your experiments and adjustments to troubleshoot and perfect your bread-making process.
Cleaning and Maintenance
Regular cleaning and maintenance of your bread maker are essential to ensure consistent results and prolong its lifespan. Follow the manufacturer’s instructions for cleaning the machine, and be sure to remove any leftover crumbs or residue. Keep the baking pan, kneading paddle, and other parts clean and dry to prevent any contamination.
Storing and Enjoying Homemade Bread
Once you’ve baked your delicious homemade bread, it’s important to store it properly to maintain freshness. Allow the bread to cool completely before storing it in airtight bags or containers. Avoid refrigerating bread as it can dry out quickly. Instead, freeze any excess loaves for longer shelf life. Enjoy your homemade bread in sandwiches, toast, or as a complement to soups and stews.
Conclusion
Mastering the art of homemade bread with your bread maker is a rewarding journey that allows you to savor the taste of freshly baked bread at any time. By following the steps outlined in this article, you’ll gain the skills and knowledge needed to create an array of delectable bread varieties in the comfort of your own kitchen.
FAQs (Frequently Asked Questions)
Can I use different types of flour in my bread maker?
Yes, you can experiment with various types of flour like whole wheat, rye, or even gluten-free options to achieve different flavors and textures in your bread.
How can I make my bread less dense?
If your bread turns out too dense, try adjusting the yeast or flour quantities, and ensure the dough has enough time to rise properly.
Can I add nuts or dried fruits to my bread?
Absolutely! Adding nuts, dried fruits, or seeds to your bread dough can enhance its taste and texture. Experiment with different combinations for unique flavors.
How do I clean my bread maker?
Refer to the manufacturer’s instructions for cleaning your specific bread maker model. Usually, you can remove the baking pan and kneading paddle for cleaning, and wipe down the machine’s exterior with a damp cloth.
How long can I store homemade bread?
Homemade bread is best consumed within a few days. To prolong its shelf life, store it in airtight bags or containers at room temperature or freeze it for longer storage.